Today I'am going to show the pad printing process.
Pad printing is a printing process that use silicone pads to transfers ink from an etching to virtually any object regardless of shape.
Step 1:
To begin, we need something to print, this can be a Logo, Image, or Saying.
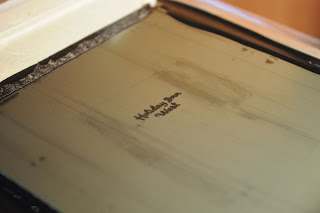
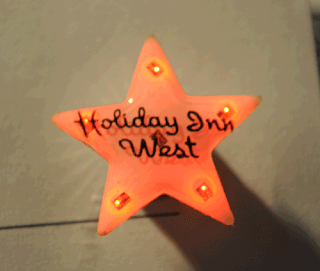
For this tutorial, I am going to use a Job I just completed for Holiday Inn.
They wanted a custom blinky to hand out at trade show they where attending.
We printed 500 pins of these pins for them.
They emailed me the Holiday Inn logo and I vectorized it and added the West.
Step 2:
If needed, the logo or image is then converted to vector graphic.
Most images are Bit-mapped which means they are comprised of square pixels, which creates staircase steps which can lead to prints that are not crisp and clean.
For printing, we need vector images, which are comprised of mathematical equations, these create super crisp lines which is necessary for a good print.
(vector image)
Step 3:
With the vector conversion completed we can print out our transfer image, needed for step 4
We use an HP 1300, because it prints at 1200 dpi which means a darker image.
For transfer to our light sensitive material, the darker the image the better.
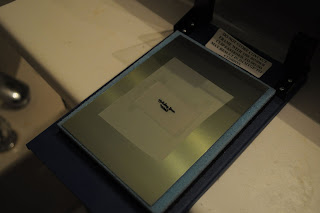
Step 4:
With our transfer image created we then place in on a metal plate that has been coated with a light sensitive emulsion. When this plate is exposed to ultra-violet light, the emulsion will harder except where our image is place, that emulsion will remain soft allowing us to wash out the image.
(Transfer placed on light sensitive plate)
 (Exposing the plate to ultra-violet light to harden the emulsion)
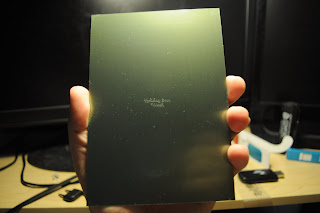
Step 5:
Once the plate has been exposed, it is washed out using warm water to expose the image.
Because the transfer protects the emulsion from hardening, we don't have to use a negative image, the plate etch is a duplicate of the transfer print we made on the HP printer.
(click to zoom the image)
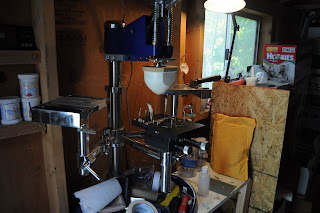
Step 6:
Now we move on to setup the printer.
It's a bit messy but it works
For this print, we'll use a ink that requires a hardener be added as well as thinner.
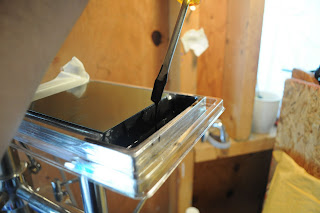
Once mixed, it will have the consistency like a wood stain.
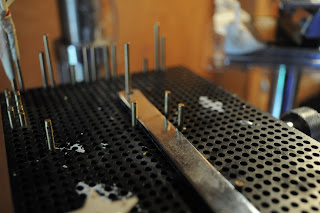
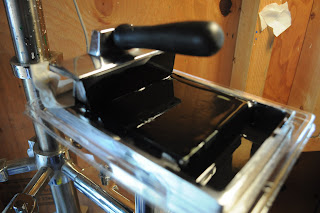
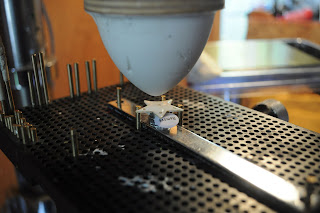
I use a pin table, which allows me to position metal pins to create a custom holder for whatever I'am printing, Because these pins are magnetic, I use the metal bar to help hold the pen in place.
Want to make sure I can position and remove the pin quickly and easily.
Step 7:
With the pin table and ink setup and ready to go it's time to start printing.
Using an ink spreader, I spread a generous amount of ink across the plate, then using the blade attached to the front of the ink spreader, I scrape the excess from the plate back to the inkwell.
This remove all the ink, except a couple microns thick amount of ink that is left within the etching.
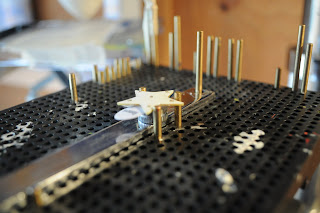
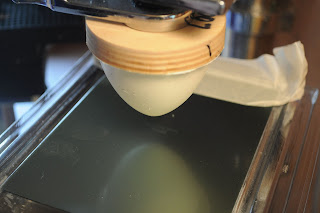
Then the silicone pad is pressed onto the etching, lifting the ink out of the etching.
You can see the ink on the silicon pad
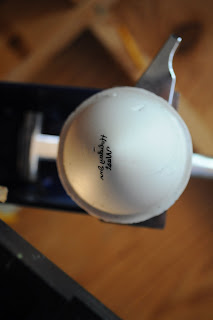
The silicon pad is then pressed onto the pin, transferring the ink to the pin.
The ink dries to the touch in about 30secs so I have to move fast.
(Yes I know the image is a bit crooked, I was still making small adjustments)
Step 8:
Repeat 500 more time
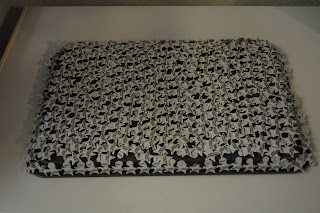
This pan contains about half the pins.
Once printed the pins are then baked at 200 degree for about 2 minutes to help cure.
The ink I use takes about 3 days to fully cure but once cured the ink will most likely outlast whatever it is printed on.
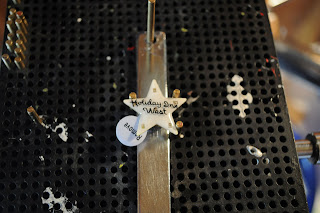
Here is the finished pin
Step 9:
Now for the fun stuff, repacking each pin. unpacking them took about an hour.
Repacking too as long as:
"Smoking Ace's II" (awful movie)
3 Everbody loves raymond
2 king of the hill
1 & 1/2 Futurama.
Needless to say, It took forever.
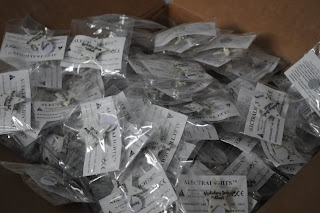
Each pin is packed with instructions and a second magnet inside a poly bag.
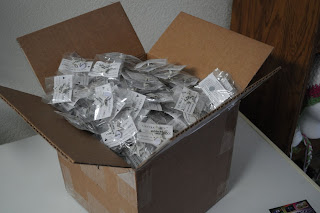
All 500 pins packaged.
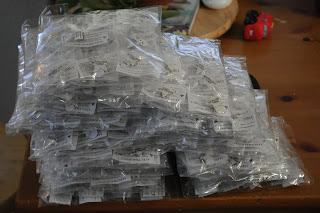
500 pins divided into 25 piece bags
Thats it. the pins are boxed up and shipped to the customer.


